Archive for March, 2009
Jungle Room theme
How to create a Zebra stripe chair for a Jungle room theme or Savanna Room theme
Wow, isn’t this a stunning piece of children’s furniture!
Hand carved and hand painted, this numbered, Limited First Edition original is truly a piece of art from Bellacor.
As beautiful as it is, it is well beyond my budget for my child’s bedroom.
So, here’s an idea for you to create a zebra (or tiger striped) chair yourself.
Ok, it’s not going to be a handcarved heirloom, but it’s going to be a fun and inexpensive detail for your child’s jungle themed room.
You will need.
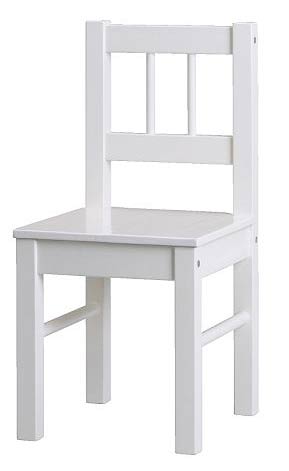
A wooden chair or chairs that has been painted white.
We used and Ikea chair. They have bigger ones too for an older child.
Some transfer paper
A zebra/tiger stripe design(see below)
Black paint (enamel)
A small pointed paint brush
A larger paint brush (One half inch) for larger areas
- Trace the stripes onto the chair by copying the design below (right click and copy the design to your computer). Print it out and enlarge it on a photocopy to the size of stripes you like.
- Tape some carbon paper to the back of the design and tape it onto the seat of the chair. Trace the design onto the chair by drawing over the paper with a ball point pen, tranfering the design to the surface of the chair.
- Repeat on the legs or if you wish, simply draw the stripes freehand using the design as a reference.
- Begin by painting in the edges of the stripes with a fine brush. Fill in with the larger brush.
- Allow to dry and protect with a coat of varnish.
Of course you don’t have to stick to Black paint.
Any colour would look good, and if you want tiger stripes, then orange would be a great choice
You could even paint each one a different colour for a really bright fun look.

Free Tree Mural Giveaway & 20% Discount Voucher
I’ve been working like a dog hard on making this blog a useful and interesting resource for those of you interested in DIY decorating children’s rooms.
As an incentive to encourage you to SUBSCRIBE VIA EMAIL to this inspiring resource 🙂
I am offering you the opportunity to be entered into
A FREE GIVEAWAY prize of my TREE MURAL Paint by Number Kit.
PLUS
I am offering a 20% Discount Voucher
for use on any of my Wallstory mural designs for ALL SUNSCRIBERS
See details of the Paint by Number TREE MURAL KIT here.
How to Enter
It’s easy
- SUBSCRIBE VIA EMAIL to this blog
- Leave a comment telling me things you would like to see on this DIY kids room decor blog.
- Tell a friend 🙂
You will then automatically receive a 20% Discount on any of Wallstory Murals and be entered into the Tree Mural Giveaway.
Your 20% voucher will be sent to you by email.
+++++
To gain extra entries for the giveaway
For extra entries you can do any one of the following and leave a separate comment for each one.
(This section is not complusory, it just gives you an extra chance of winning)
- Do a blog post on this giveaway and by that I mean a full blown blog post, not just a link (That’s worth 3 entries!)
- Twitter about this giveaway. Copy and paste the following –
@WallStory-GIVEAWAY! Enter now- Free Tree Mural Kit & 20% Discount Voucher https://wallstory.wordpress.com/2009/03/23/freemuralgivaway/
- Add my “Off the Wall” button to your site (grab it from the upper right sidebar)
Don’t forget add a comment for each thing that you do
Last date for entries to win the Free Tree Mural is Midnight Monday 6th April 2009
The winner of the Tree mural will be picked at random and announced on Wednesday 7th April 2009.
Subscribers will receive their 20% voucher by email
Well that’s it!
So, ENTER NOW and good luck to everyone.
Children’s lampshades
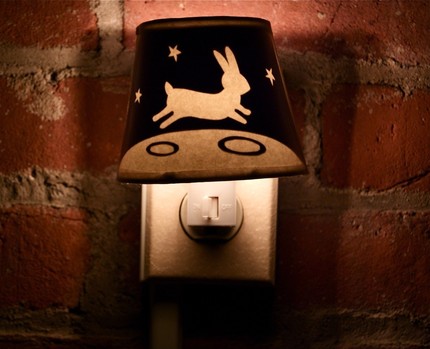
I was delighted to discover Fog And Thistles paper cutout night lights.
Their simplicity and charm are quite delightful.
They’re not too expensive either Priced at $27.
You can see more of Rachel Webers Cut Paper Art and lighting in her Etsy store or check out her blog Fog and Thistle
Making a paper cutout lampshade
Cut out paper shapes are a great way to dress up and rejuvenate old boring lampshades.
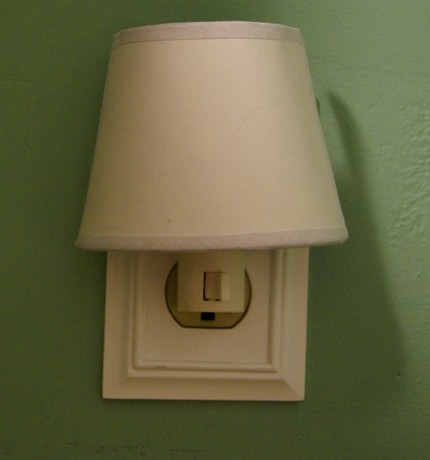
During the day they may look quite plain like Rachel’s design below, but at night they come to life.
How to make a lampshade yourself
Cut out simple shapes in black paper and glue them to the inside of a plain lampshade with spray glue.
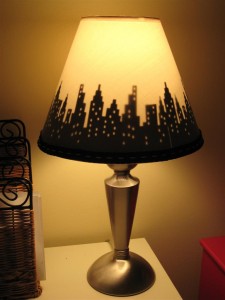
Chica and Joe have done a similar thing with a cityscape.
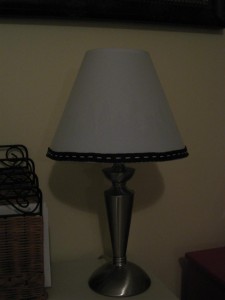
During the day all you see is the ribbon that was sewn down the middle with a thick white stitch and added to the bottom of the lampshade to look like a street.
If you find that a bit plain, there’s no reason why you couldn’t paint or stick the same design in colour to the outside of the lampshade making sure you positioned the design directly over the black paper inside the shade.
and/or
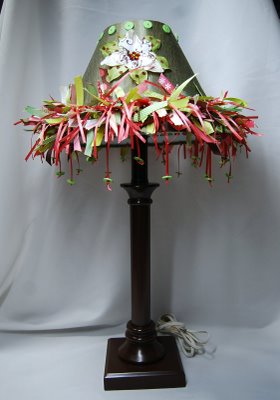
Add decorative elements to the bottom of the shade like beads, ribbons, feathers, tassled fringes (whatever you can find) hanging down from the shade to add interest.
Like this from Roberts Media Team, but fewer bits and pieces if you want the cutout design to show through!! 🙂
(Great site by the way)
Where can you find cutout shape ideas?
Search on the internet for Free Clip art Silhouettes and you’ll find loads to choose from THIS SITE
Have fun and tell me about it!








 http://www.wallstory.wordpress.com


 Marie Antoinette Award

